Development and Version Control
W and M Page Exercise
These website pages were created to practice HTML and CSS lessons. We were provided with two pictures and tasked with recreating them without access to the source code.
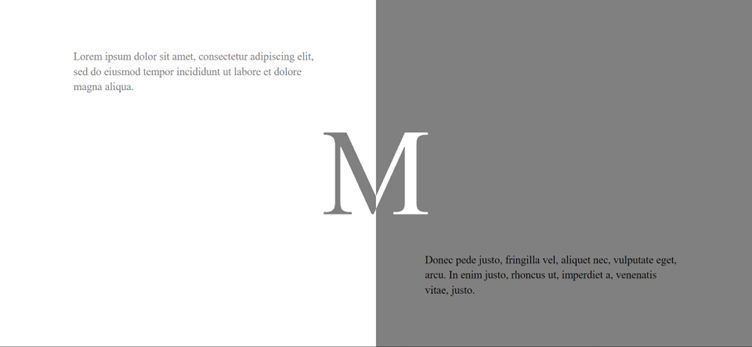
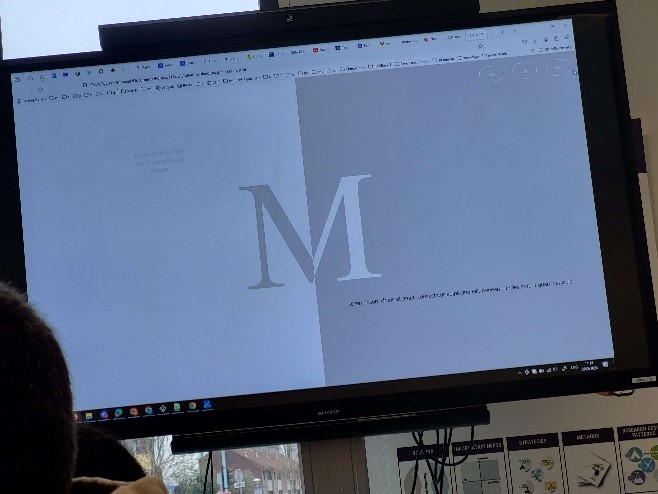
The M page was simpler, featuring a split layout achieved using CSS classes which code I found on w3schools. I used a linear gradient to partially color the M container and added text boxes with Lorem Ipsum content.
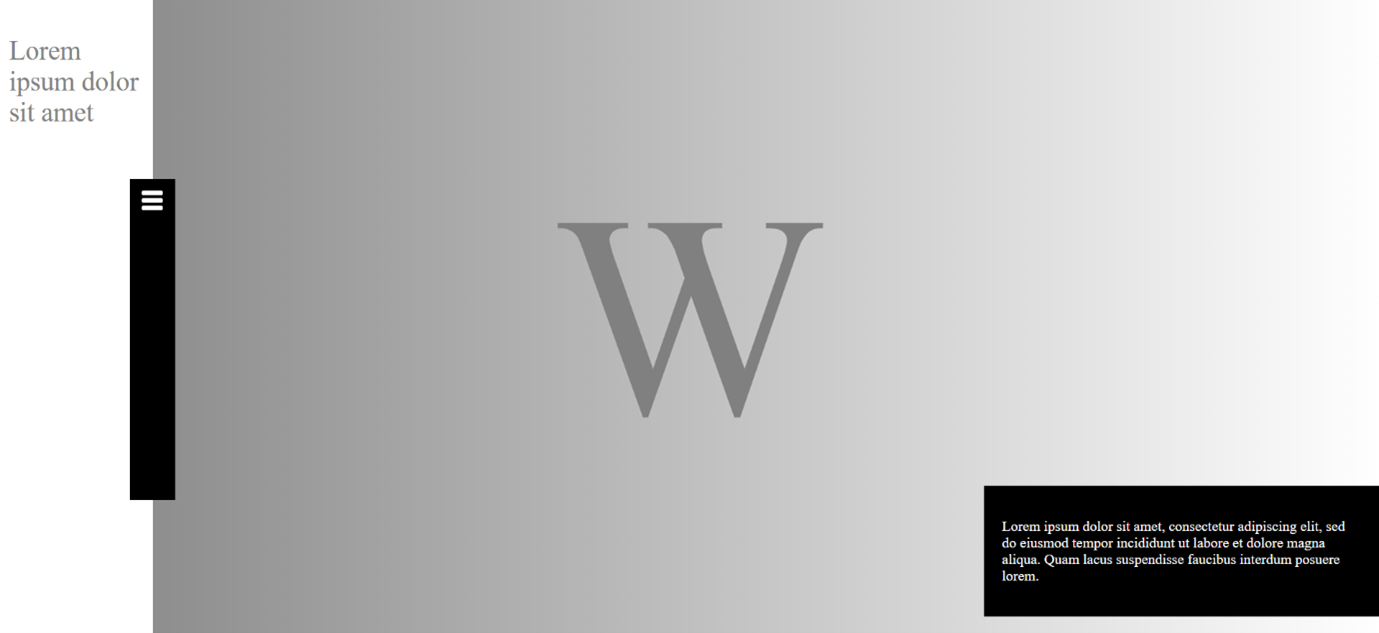
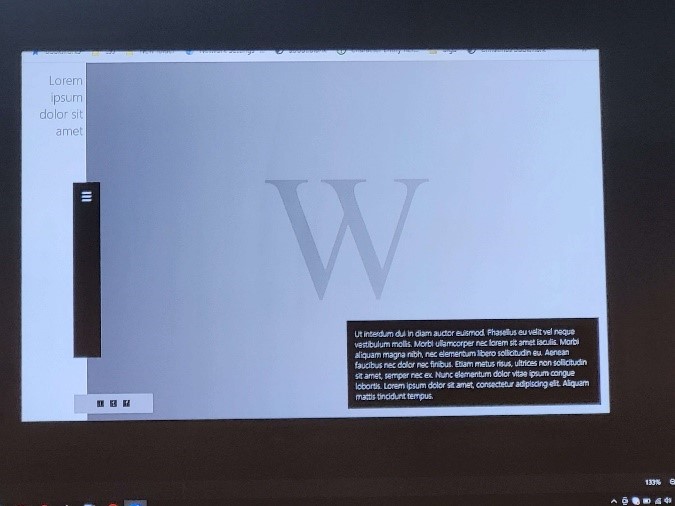
The W page had more elements. I started by adding a gradient background and a white strip on the left side for text. Then, I positioned a black textbox in the bottom right corner and another black box along the border of the white strip. Finally, I placed a menu button using a PNG image.
See the project on Git.
Portfolio Website

Creating my portfolio website wasn't too difficult since it didn't involve any JavaScript, which is what I struggle with the most. The most challenging part was adapting the burger menu to fit my design and implementing the desired functionalities. Here's a breakdown of the elements I used:
- Vertical Split Page: Created using CSS skew functions to replicate the vertical split page layout.
- Gradient Fade Effect: Achieved with CSS gradients for a smooth transition between sections.
- Graphics Integration: Imported graphical elements from Figma, ensuring color consistency.
- Paint Clouds: Added dynamic visual elements to the background for contrast.
- Navbar Implementation: Integrated a navigation bar with a home button and a menu button for easy access to different pages.
- Hamburger Menu Animation: Implemented using CSS only, following this tutorial.
See the project on Git.
Run Marco JS
In the first JavaScript programming lesson, we played a game called Runmarco. The objective is to advance along a path by executing commands. Initially, we used stickers for commands and later wrote JavaScript code.
The code I structured below was able maneuver the character through all the levels from 0 to 8:
while (true) {
    if (look('front') == 'clear') {
        step();
    } else if (look('front') == 'bush' ) {
        jump();
    } else if (look('right') == 'clear') {
        turn('right');
    } else if (look('left') == 'clear') {
        turn('left');
    } else {
        break;
    }
}
The code checks if the path ahead is clear and moves forward. If obstructed by a bush, it jumps. If neither, it checks for clear paths to the right and left, adjusting direction accordingly. It terminates execution when the level is completed.
Fontys ICT Website
As described in Learning Outcome 3, the objective of this project was to redesign the Fontys ICT website to attract new students. My approach was to make the website visually engaging using a zoom effect to create the feeling of stepping into the world of ICT at Fontys.
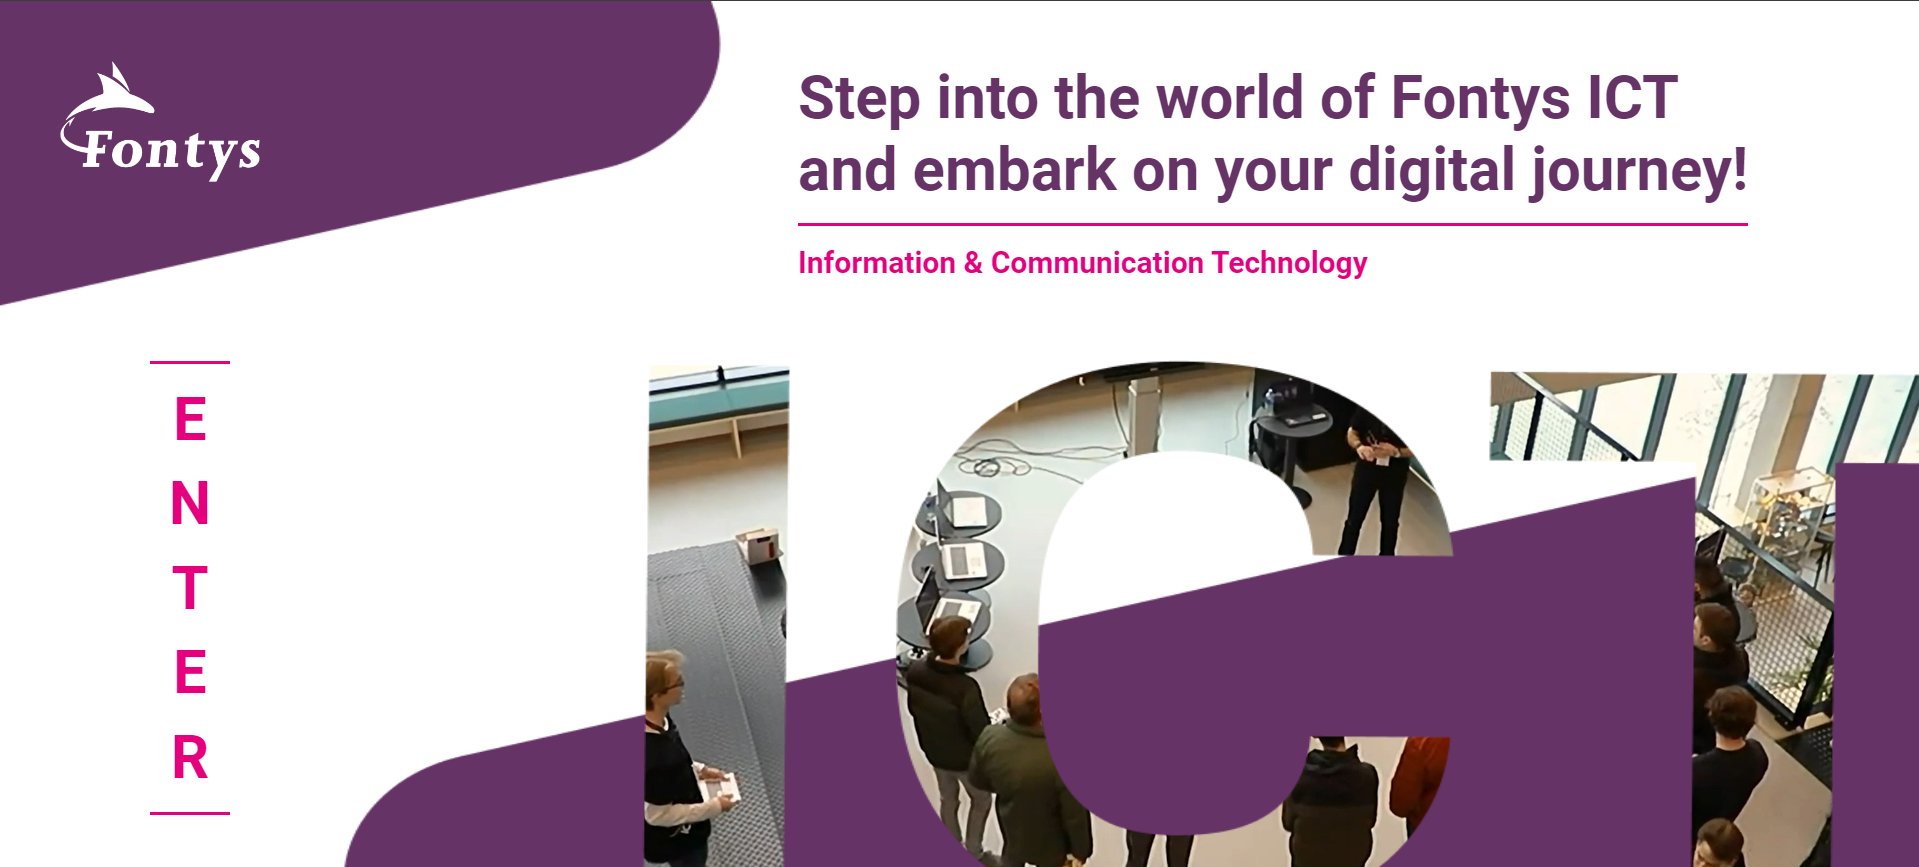
The logo was taken from the original Fontys site, and the background was created in Figma using elements from the brand guide. The interactive enter button was made with CSS only, featuring a transition of vertical lines on hover. The video is displayed behind the ICT frame made in Figma using a lower z-index.
To ensure the video displays properly even on the landing page ICT cut out, it is initially shown in the bottom right corner and expands to full width after clicking the enter button. When the enter button is clicked, the other elements such as the text, enter button, and logo fade out before the frame transition occurs. This transition uses a `transform-origin` of 50.5% 70% to create a zoom effect centered on the middle of the "C" in ICT.
After this, the page switch happens, and the video syncs with the already playing video on the landing page using JavaScript. The logo and text slide in, and you can scroll down for all the information. This page was created by my group member Andrejs.
Visit the website.
See the project on Git.
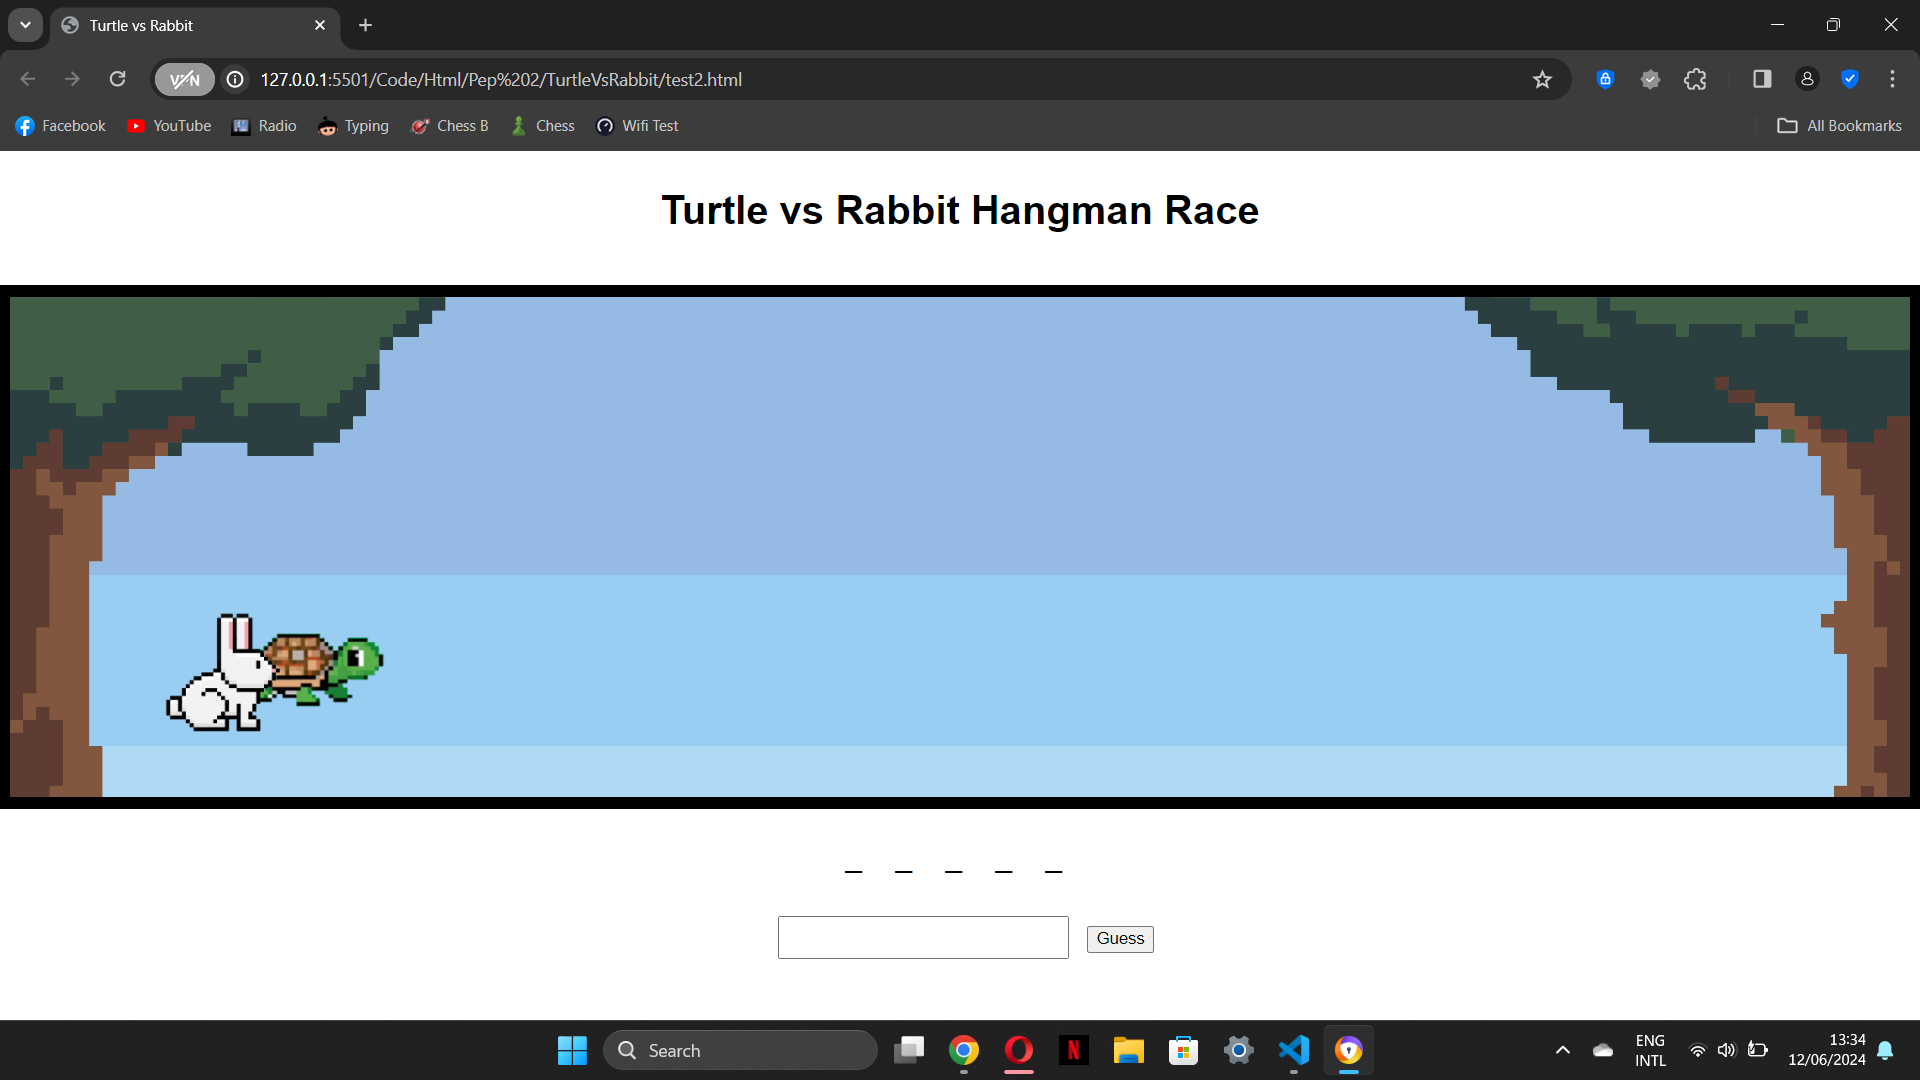
Turtle vs Rabbit Game
The iteration of the design for this project is described in Learning Outcome 3. For Project X, I created a hangman-like game called Turtle vs Rabbit. It features a race between a turtle and a rabbit to the finish line, reminiscent of beloved storybooks. The landing page, settings page, and game manual page were primarily made using elements from my design in Figma.
The play button was created in CSS using code from W3Schools, which I modified to fit my pixelated design. The only JavaScript applied to these pages was for the buttons, mostly in the form of sound effects.
Next, I developed the main page of the website, which is the game page. This page involved a lot of trial and error before I figured out how to get it right. The background was sourced from iStock. My initial attempts at the game looked like this, and while some elements were present, it was far from good.
Working on the JavaScript was challenging, and I received a lot of help from ChatGPT. After some time, I got closer to the finished product. At this stage, I had a letter input, a display for the attempts left, a surrender button indicated by a white flag, and movement for the animals.
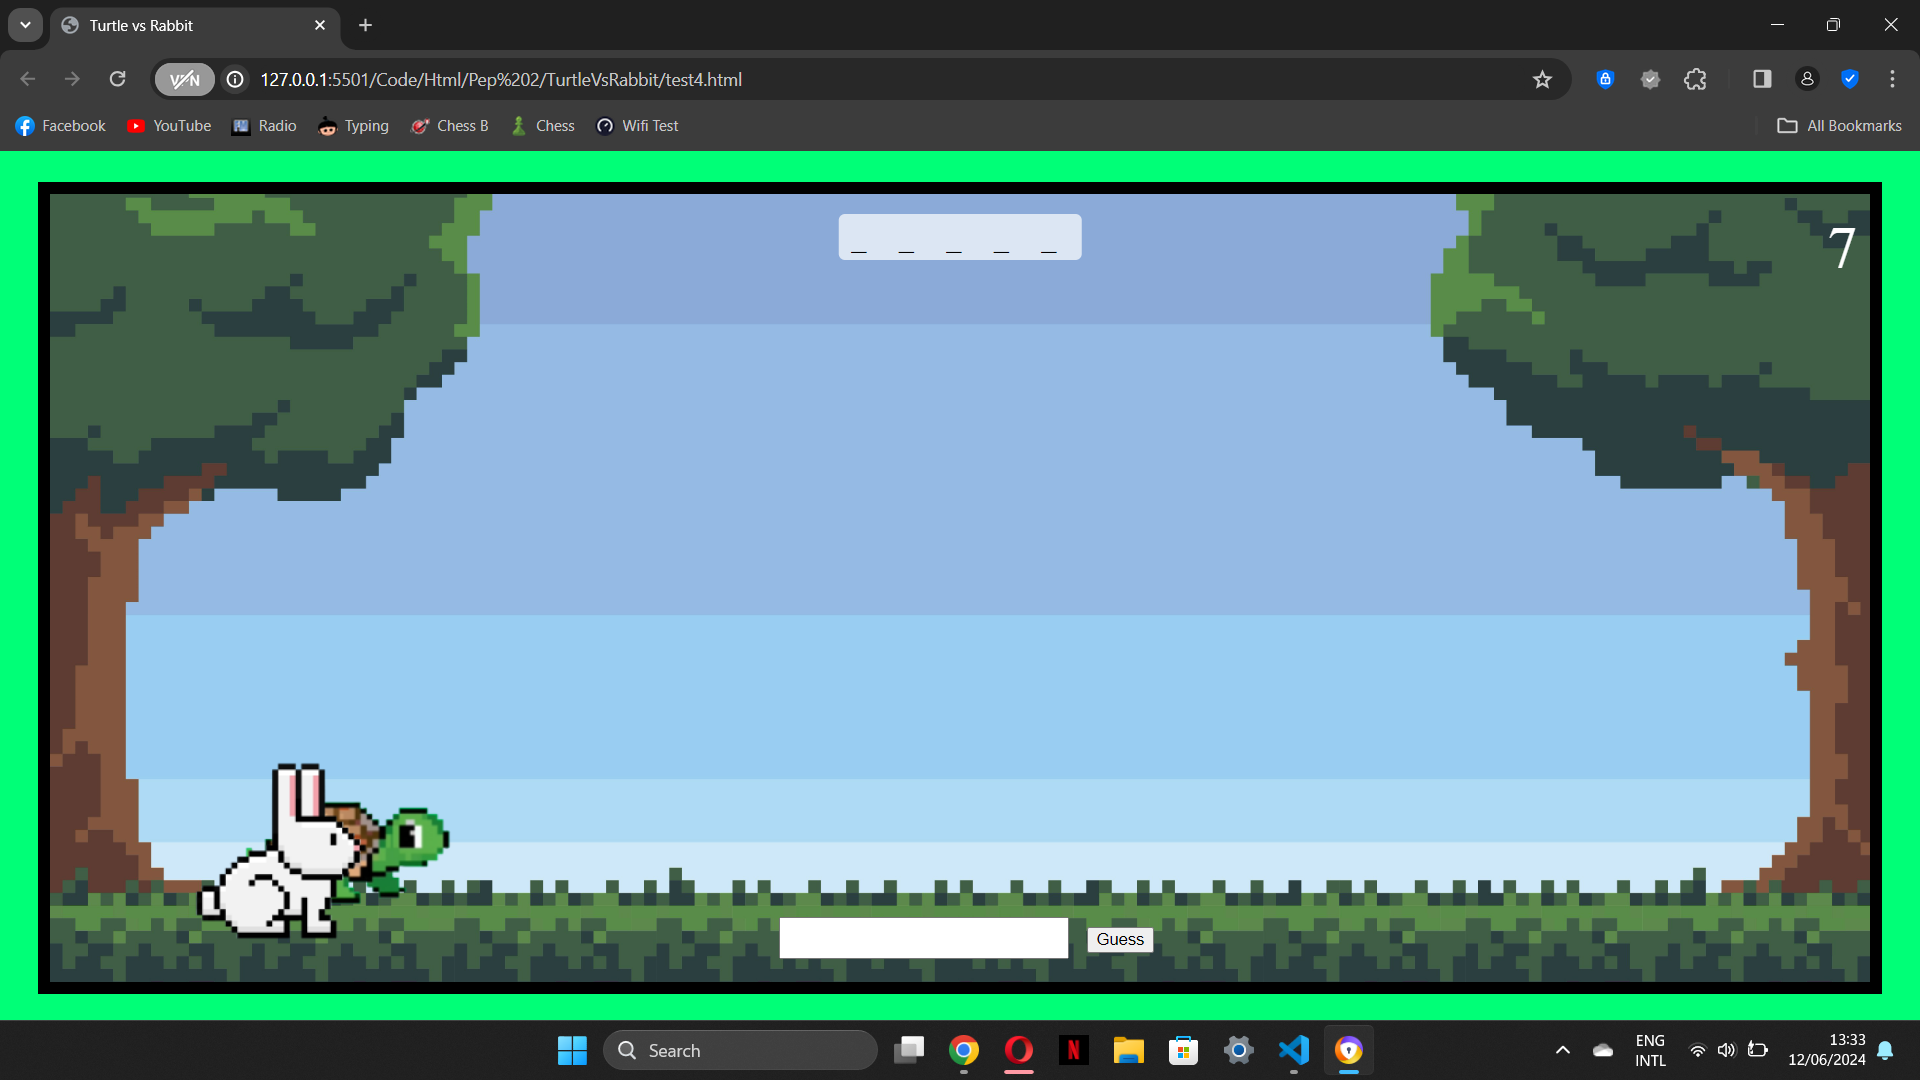
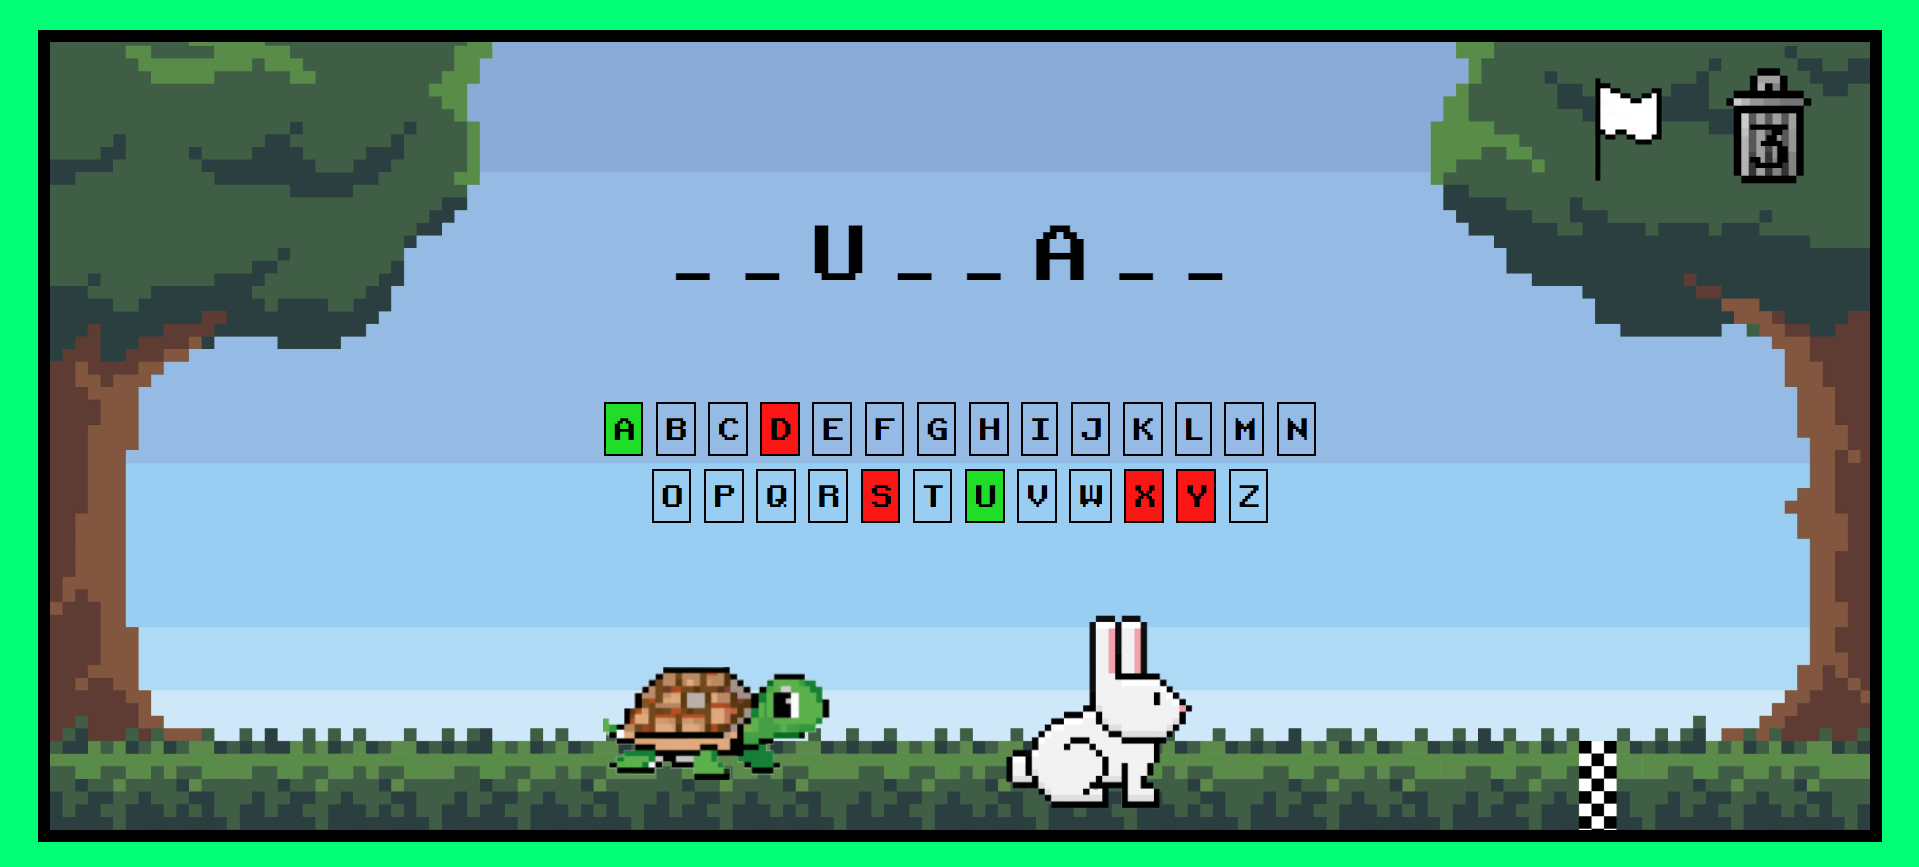
Eventually, I arranged everything according to my design. Through personal testing and teacher feedback, I further improved the game by adding a clickable letter panel instead of keyboard input, making the surrender icon display the correct word before redirecting to the lose page, and adding fitting sound effects. This is what the finished product looks like:
The last steps were to develop the lose and win pages in the same way as the landing page, replacing the play button with home and play again buttons. I added the turtle on top of the container for the winner and the rabbit for the loser. These pages also include settings and manual buttons, allowing players to view the rules again without returning to the homepage first.
After user testing, the feedback I received was that the settings page isn't finished. This is true, as I had planned to add features such as allowing users to add their own words or set a time limit, but I didn't have the time to implement these. If more features were added, these settings would be necessary. Currently, the only useful setting would be the option to turn the sound on and off, which would be a good addition, but I didn't prioritize it. More details can be found in this document.
I am very proud of how the game turned out and i learned a lot about user testing and working with Javascript. However, next time, I would definitely take the time to implement these features and the adequate settings.
Visit the Game.
See the project on Git.